A concrete driveway is there for functional and aesthetic reasons. Not only does it beautify your property through a pavement, but it also allows you to walk and drive on it with ease and convenience. Despite its durable surface, your concrete driveway can be subjected to wear and tear over time. With constant use and abuse, cracks may develop and become noticeable in the long run. These cracks can be caused by tree roots and soil movement, as well as the extreme weather conditions.
Fret not, as your damaged concrete driveway can be fixed. There’s no need to remove the slab and pour a new one. All you have to do is to refill and resurface the existing concrete. That said, follow the steps below to repair your concrete driveway.
1. Pressure washing the concrete
The concrete must be thoroughly cleaned first prior to filling the driveway cracks. A pressure washer is the best tool to use to get rid of mould, mildew, and dirt. Follow the steps below:
● Begin to wet down the concrete to prevent the cleaner from drying too quickly.
● Add the cleaning solution to the pressure washer reservoir.
● Spray the cleaner on the surface of the concrete.
● Attach a high-pressure nozzle to the pressure washer.
● Clean the surface of the driveway using the high-pressure nozzle.
2. Preparation and application of the concrete mix
At this point, you have to mix concrete for repairs, create concrete consistency, and apply the mixture properly. Follow the steps below:
● Pour enough dry concrete mix into a five-gallon bucket.
● Mix the concrete with water to a thick consistency similar to cookie dough.
● Pour the mixed concrete in the cracks and damaged areas.
● Use a flat-edged trowel to work the mixture into the cracks.
● Once the cracks and other damaged spots have been filled, use the trowel to remove excess concrete and smoothen the surface.
3. Drying time
At this point, you have to allow a drying time after the repair work is complete. Follow the steps below:
● Allow the concrete used to fill cracks to dry overnight.
● Make sure that the area is secured from any intrusions.
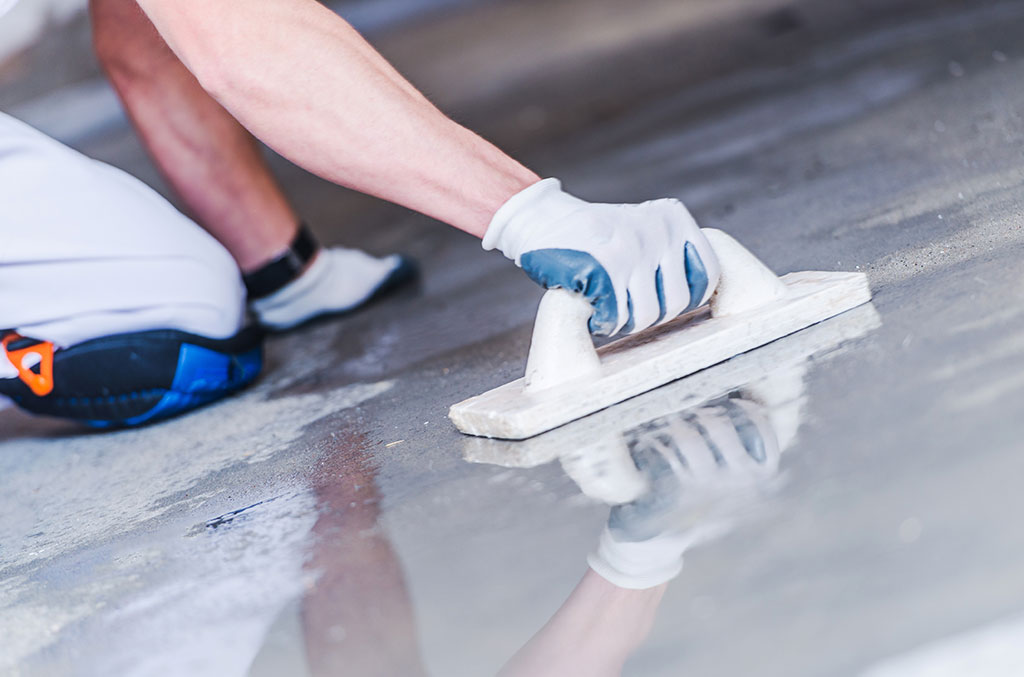
4. Mix resurfacer
After having the concrete dried overnight, you can now apply a thin coat of resurfacing concrete over the entire driveway. Follow the steps below:
● Mix the resurfacer much thinner than the concrete used to repair cracks.
● Make sure to blow or sweep off any leaves or debris.
● Wet the surface down to keep the concrete from drying too fast.
● When the driveway is ready, pour the resurfacer out and spread it using a rubber squeegee, working on a small area at a time.
5. Final step
Let’s get into the finishing of the concrete repair. Follow the few final steps below:
● Use a broom with an extended handle to give a bit of texture to the surface. This prevents the concrete from becoming slippery when wet.
● Allow at least six hours of drying time before walking on the driveway.
● Allow another 24 hours or more before driving on the driveway.
Conclusion
Repairing your concrete driveway can be pretty straightforward and relatively easy. However, if you don’t know how to proceed with fixing the cracks in your concrete driveway, you better leave the resurfacing to an expert contractor.
We are a local authority approved contractor offering professional driveway, paving, and groundwork services in Cornwall. If you need help with resurfacing your concrete driveway, get in touch with us today to see how we can help!